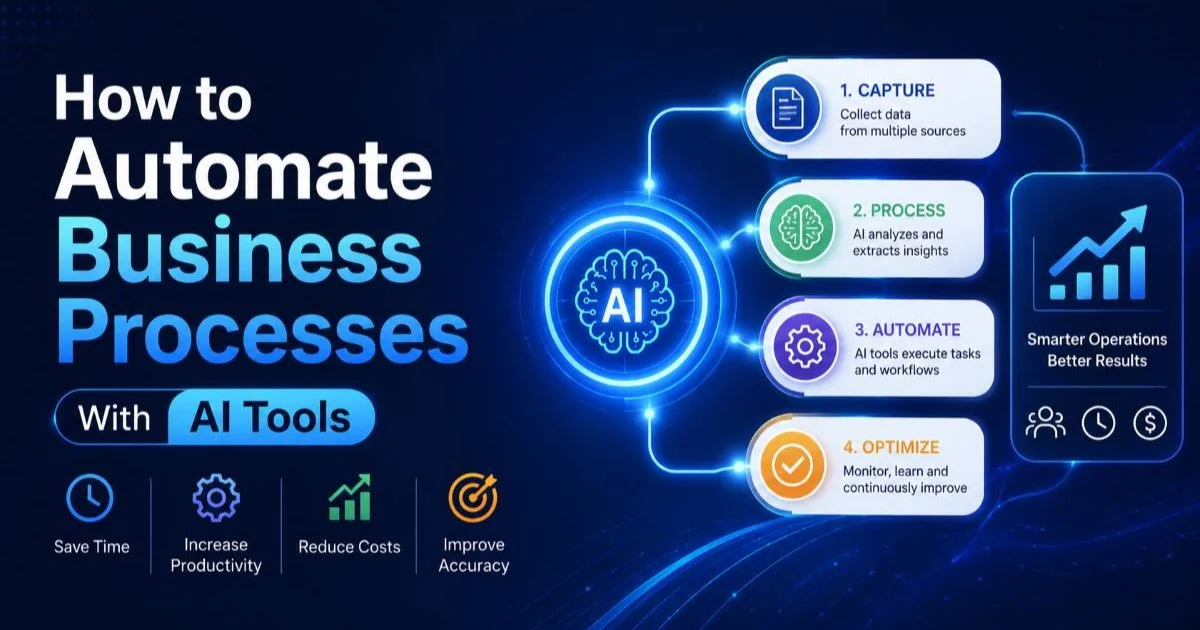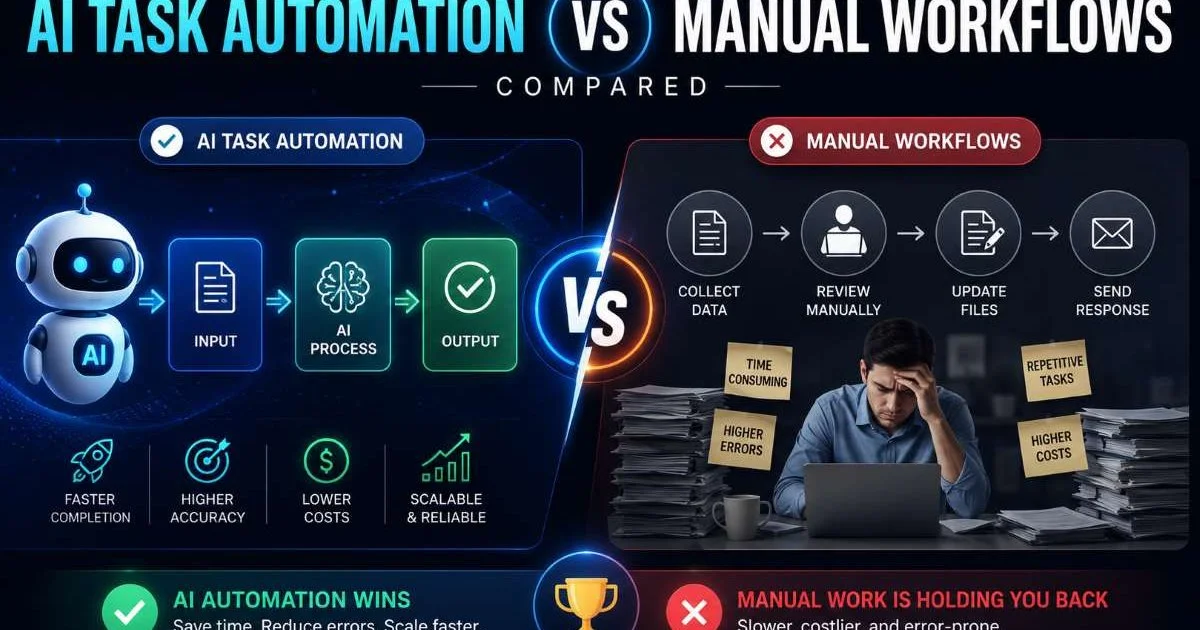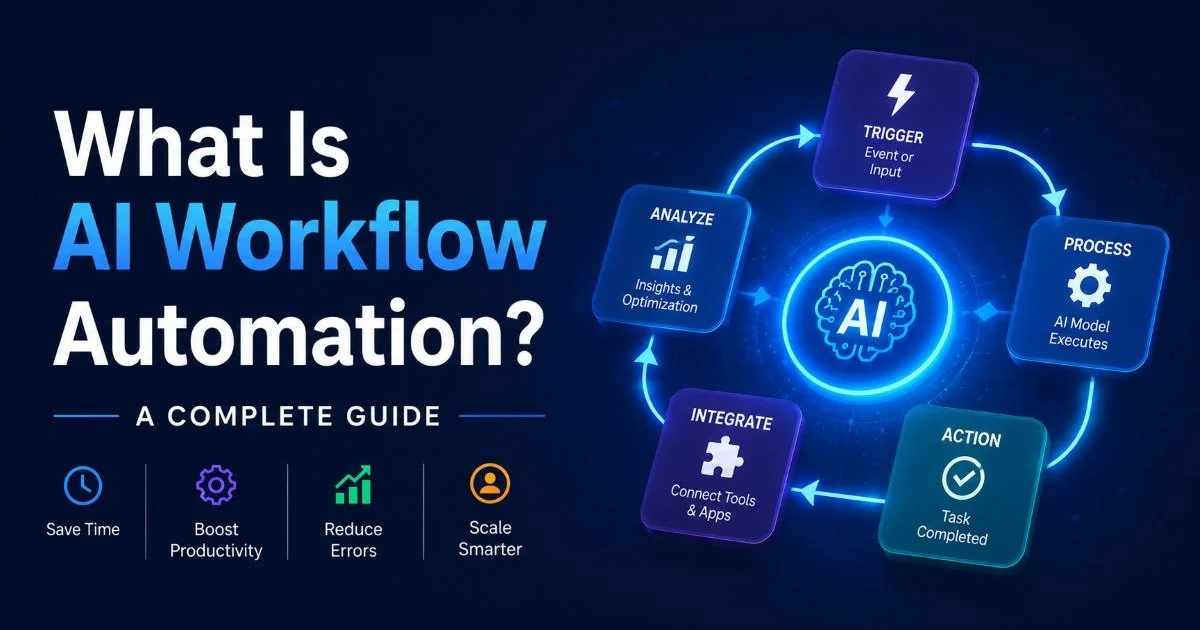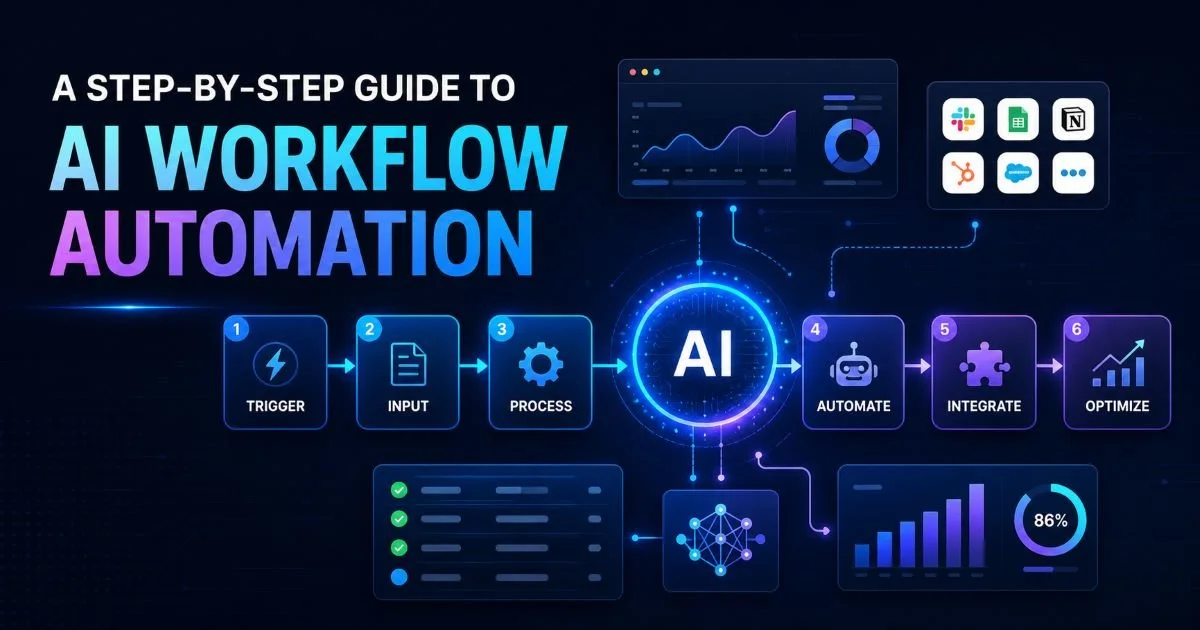
AI workflow automation is transforming the way operations teams design, execute, and optimize their business processes. Instead of manually connecting tools, triaging tasks, and monitoring handoffs, professionals now build intelligent pipelines that run with minimal oversight. The stakes are real: companies that fail to adopt automation lose ground to competitors who ship faster, reduce errors, and free their teams for strategic work.
This guide walks you through four concrete steps to implement AI workflow automation in your organization, from auditing your current processes to scaling production-grade systems. Whether you're starting from scratch or refining an existing setup, each step includes practical tips, mistakes to avoid, and clear benchmarks for success.
If you want a broader overview of the landscape, our complete guide to AI workflow automation covers foundational concepts in depth. Let's get building.
Key Takeaways
- Audit existing processes before selecting any AI automation tools for your stack.
- Map each workflow's inputs, outputs, and decision points on paper first.
- Start with one high-volume, rule-based process to prove value quickly.
- Choose workflow automation software that supports both code and no-code paths.
- Monitor performance weekly and iterate; automation is never a one-time project.
Step 1: Audit and Prioritize Your Processes
Identify Bottlenecks and Repetitive Tasks
Before you touch any software, spend a week documenting how work actually flows through your team. Shadow the people who handle data entry, ticket routing, report generation, and approval chains. Write down every manual step, the average time each takes, and how often errors occur. This raw observation data is your most valuable input; without it, you'll automate the wrong things.
Focus specifically on tasks that are high-volume, rule-based, and time-sensitive. A customer onboarding process that runs 200 times per month with a consistent set of steps is a far better candidate than a quarterly strategic review. Look for processes where people copy data between systems, send templated emails, or follow rigid decision trees. These are the sweet spots where business process automation delivers measurable returns within weeks.
Interview frontline staff, not just managers. The people doing the work know where time actually disappears.
Score and Rank Candidates
Create a simple scoring matrix with four criteria: volume (how often the task runs), complexity (number of decision points), error rate (how often mistakes happen), and business impact (revenue or compliance implications). Score each candidate process from one to five on every criterion, then multiply volume by impact for a priority score. This keeps your rollout grounded in data rather than gut feeling.
At the end of this step, you should have a ranked list of three to five candidate workflows, each with documented steps, estimated time savings, and a clear owner. If your list is longer than five, narrow it down. Trying to automate everything at once is the single most common mistake operations teams make, and it almost always leads to abandoned projects and wasted budget.
Do not skip the audit. Automating a broken process just produces broken results faster.
Step 2: Design Your AI Workflow Automation Blueprint
Define Triggers, Actions, and Conditions
Take your top-priority process and decompose it into three elements: triggers (what starts the workflow), actions (what happens at each step), and conditions (the logic that routes work down different paths). Draw this on a whiteboard or in a diagramming tool before you open any workflow automation software. A visual map prevents scope creep and reveals hidden dependencies that weren't obvious during the audit phase.
Each trigger should be specific and observable. "New support ticket created in Zendesk" is a good trigger. "Customer seems unhappy" is not, unless you pair it with a sentiment analysis model that produces a numeric score. Conditions need explicit thresholds: if the sentiment score is below 0.3, route to a senior agent; if it's above 0.7, send an automated response. Vague conditions create brittle automations that break under real-world variance.
Name every step with a verb-noun pattern like "Classify Ticket" or "Send Confirmation." This makes debugging much easier later.
Select AI Models and Integrations
Now choose which AI capabilities each step requires. Some steps need simple rule-based logic, others need language models for classification or generation, and a few might need vision models or structured data extraction. Matching model capability to task complexity saves money and reduces latency. For guidance on choosing the right language models for agent-based steps, this comparison of the best LLMs for agents breaks down performance across common use cases.
By the end of this step, you should have a complete blueprint document that lists every trigger, action, condition, and the specific AI model or integration each step uses. Include fallback paths for when an AI step returns low-confidence results. Your blueprint is your contract with stakeholders; get sign-off before building anything. This prevents the costly rework that happens when teams discover misaligned expectations during testing.
"A workflow without a fallback path is a workflow waiting to fail silently."
Step 3: Build, Test, and Validate
Configure Your First Workflow
Open your chosen platform and translate your blueprint into a working automation. Start with the trigger, add each action node in sequence, and wire in your conditions as branching logic. If you're using ai automation tools that support visual editors, drag-and-drop interfaces speed up this phase considerably. Resist the temptation to add extra steps or "nice-to-have" features at this stage; match the blueprint exactly.
Configure each AI step with the model, prompt template, and output schema you defined in Step 2. Set temperature and token limits explicitly rather than relying on defaults. For classification tasks, lower temperature values (0.0 to 0.2) produce more consistent results. For generation tasks like drafting email replies, a range of 0.4 to 0.7 works better. Document these settings in your blueprint so anyone on the team can reproduce the configuration.
Version-control your prompts alongside your workflow definitions. Prompt drift is a real operational risk that compounds over time.
Run Parallel Testing
Run your automated workflow in parallel with the existing manual process for at least two weeks. Feed both systems the same inputs and compare outputs side by side. Track three metrics: accuracy (does the automated output match the correct result), latency (how fast does the automation complete), and exception rate (how often does the workflow hit a fallback path or error out). This parallel phase is non-negotiable; it's where you catch edge cases that unit tests miss entirely.
| Metric | Manual Process | Automated Workflow | Target |
|---|---|---|---|
| Accuracy | 94% | 97% | ≥ 95% |
| Avg. Latency | 12 min | 45 sec | < 2 min |
| Exception Rate | 8% | 5% | < 7% |
| Weekly Volume | 200 tasks | 200 tasks | Equal |
| Cost per Task | $4.20 | $0.35 | < $1.00 |
At the end of this step, your automated workflow should meet or exceed the manual process on all three metrics. If accuracy falls short, revisit your prompts and conditions. If latency is too high, check whether you can batch API calls or use a smaller model. Do not proceed to production deployment until your parallel testing scorecard shows green across the board for a full testing period.
Step 4: Deploy, Monitor, and Scale
Set Up Observability
Production deployment means cutting over from the manual process and letting the automation handle real workload. Before you flip the switch, set up dashboards that track the same metrics from your parallel test, plus two new ones: cost per run (including API and compute costs) and user satisfaction (measured through feedback forms or CSAT scores on automated outputs). Alert thresholds should trigger notifications when any metric deviates more than 10% from baseline.
Log every workflow execution with its full input, output, and intermediate step results. This audit trail serves three purposes: debugging failures, proving compliance to auditors, and generating training data for future model improvements. Storage is cheap; missing logs during an incident investigation is expensive. When you automate tasks with AI, observability is the difference between confidence and anxiety.
Schedule a weekly 30-minute review of your automation dashboard. Patterns emerge over weeks, not hours.
Expand to Adjacent Workflows
Once your first workflow runs stably for four weeks, return to your prioritized list from Step 1 and begin the cycle again with the next candidate. Each subsequent workflow builds faster because you've established patterns, tested integrations, and built organizational trust. Teams that follow this incremental approach typically automate three to five processes in their first quarter, compared to zero completed workflows for teams that try to launch everything simultaneously.
Consider creating reusable components: a standardized email-sending node, a common classification prompt template, or a shared error-handling routine. These components become your internal library and dramatically reduce build time for new AI workflow automation projects. Document each component with its inputs, outputs, expected behavior, and known limitations. This library is what separates a one-off project from a scalable automation practice that compounds value over time.
At the end of this step, you should have one production workflow with full observability, a documented component library, and a clear roadmap for the next two or three automations. Your team should feel confident reading dashboards, debugging failures, and proposing new automation candidates without external help. That operational independence is the real measure of success.
Revisit model selections every quarter. New releases can cut costs or improve accuracy significantly.
Frequently Asked Questions
?How do I build the scoring matrix to rank automation candidates?
?Should I use a no-code tool or a coded pipeline for my first workflow?
?How long does it realistically take to see ROI from one automated workflow?
?Why do 60% of automation projects fail, and how do I avoid that?
Final Thoughts
AI workflow automation is a discipline, not a destination. The four steps outlined here, auditing processes, designing blueprints, testing rigorously, and deploying with observability, form a repeatable cycle that gets faster and more effective with each iteration.
Operations professionals who treat automation as an ongoing practice rather than a one-time project consistently outperform those chasing silver-bullet solutions. Start with one workflow, prove the value, build trust, and expand. The compounding returns from each automated process will speak for themselves.
Disclaimer: Portions of this content may have been generated using AI tools to enhance clarity and brevity. While reviewed by a human, independent verification is encouraged.